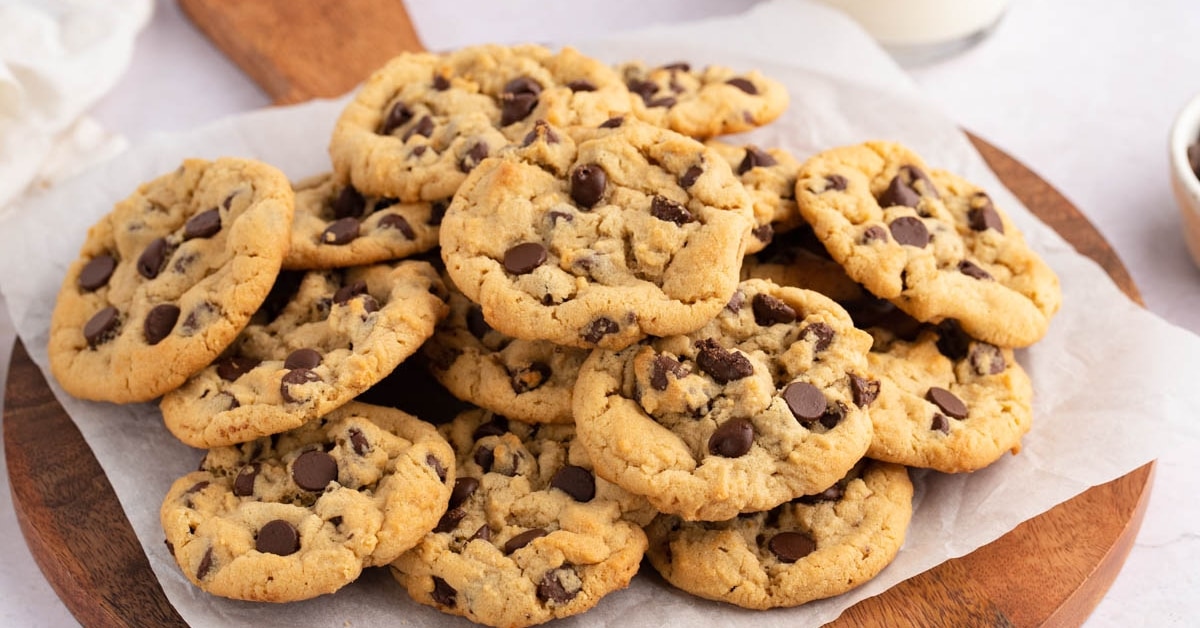
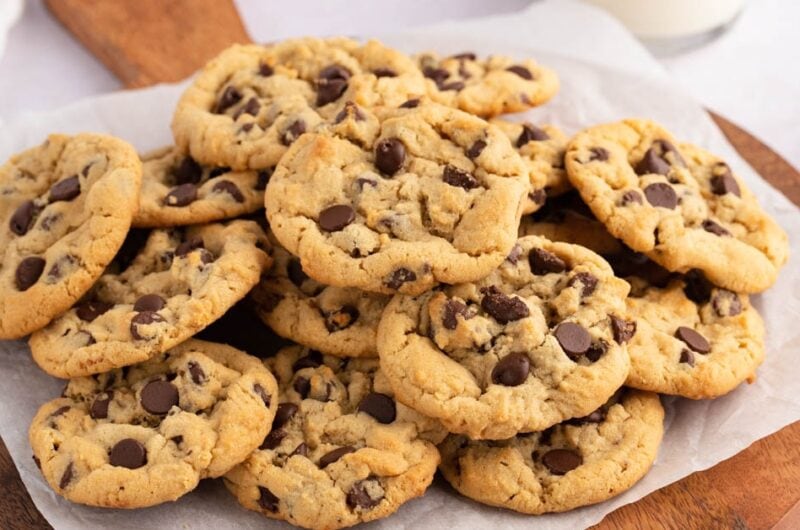
These peanut butter chocolate chip cookies are the best of both worlds!
Why pick between chocolate and peanut butter when you can have them both?
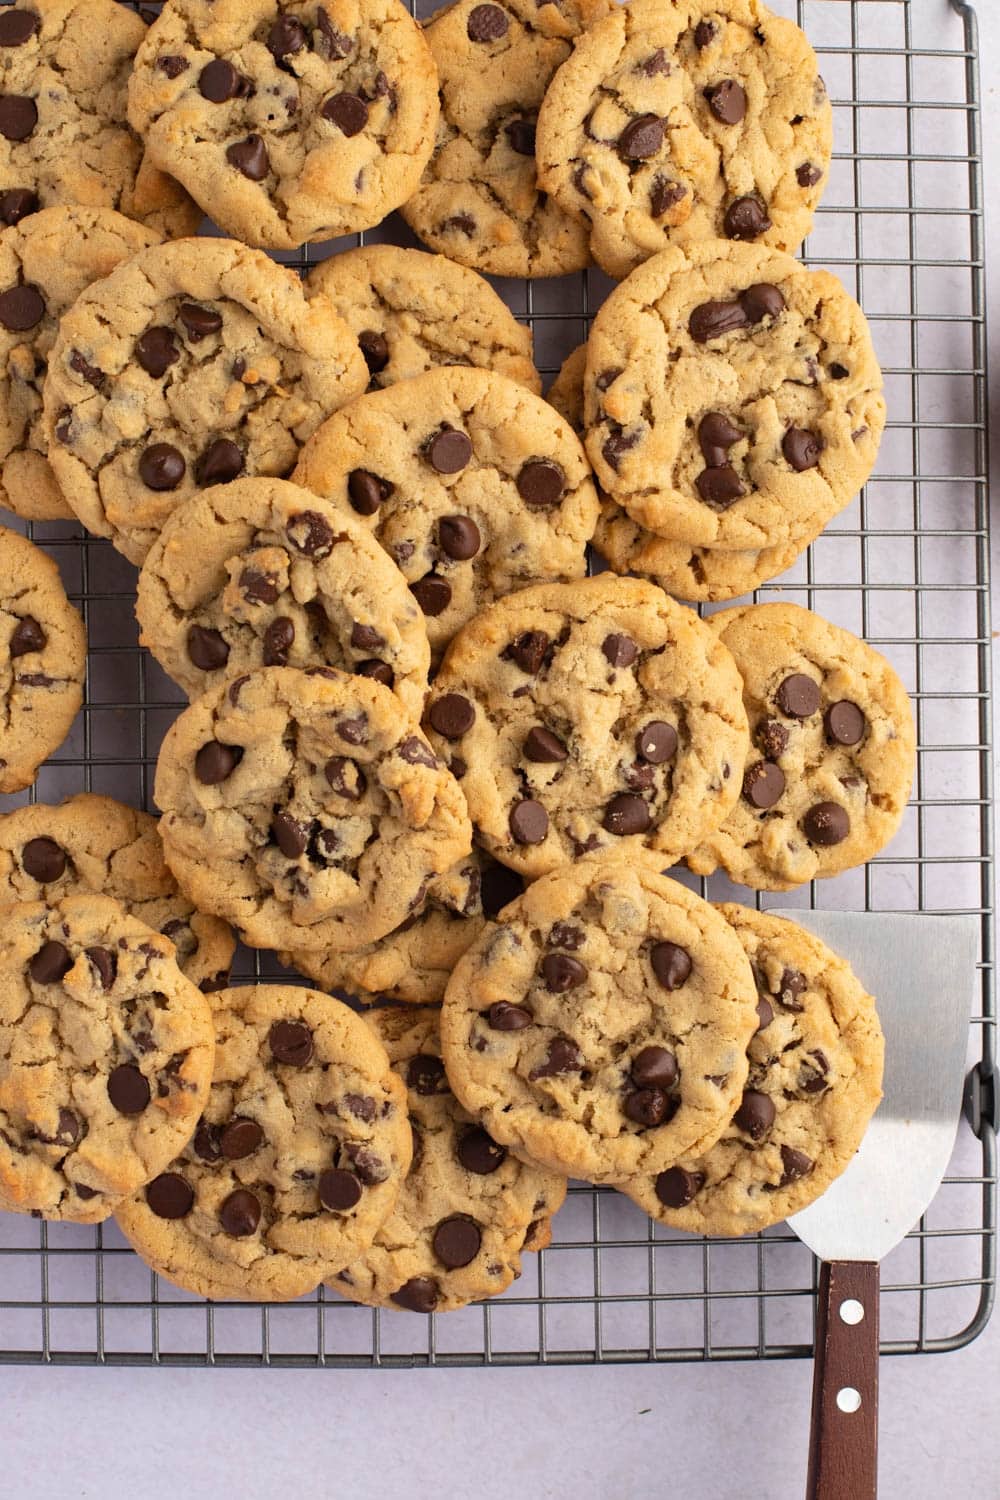
Nothing satisfies me more than sinking my teeth into one of these glorious cookies.
The slightly crisp edges, the soft, chewy center, and the melty chocolate – they’re all just impossible to resist!
Trust me, these peanut butter chocolate chip cookies will delight your tastebuds and leave you wanting more.
Peanut Butter Chocolate Chip Cookies
With a whole cup of peanut butter in the cookie dough, these babies are definitely peanut butter-forward.
But each bite bursts with melty and decadent chocolate, too, so they’re just as chocolatey as they are peanut buttery.
Think Reese’s Peanut Butter Cups, but in cookie form.
Are you drooling too?
Ingredients
- Peanut Butter – The star of the show! Use creamy peanut butter for the best results.
- Flour – The base of the cookie dough that gives it structure. Be sure to measure it accurately.
- Butter – Use softened, not melted. Otherwise, your cookies will spread while baking into one giant, rectangular cookie.
- Sugar – Use a mix of white and brown sugars for the perfect sweetness and texture.
- Baking Soda – The leavening agent that makes the cookies rise.
- Eggs – They bind the ingredients, enrich the cookies, and help make them rise.
- Chocolate – You can use either chocolate chips instead of chopped baking chocolate. I use semi-sweet in my cookies, but if you’re more of a sweet tooth, feel free to use milk or white. Use good-quality brands like Hershey’s, Guittard, or Ghirardelli.
The Best Peanut Butter to Use
Stick to no-stir creamy peanut butter for best results.
It’s thicker and contains sweeteners and stabilizers that help enhance the cookies’ flavor and texture.
Any standard brand like Skippy or Jif will work well here. And while you can choose between smooth or crunchy, I prefer the former.
Crunchy can make peanut butter cookies a bit dry.
And in case you’re wondering, no, natural peanut butter won’t work here. Sorry.
I know it’s the healthier option, but it’s not ideal because the oil separates from the peanut butter.
And this recipe needs that oil to make the cookies moist.
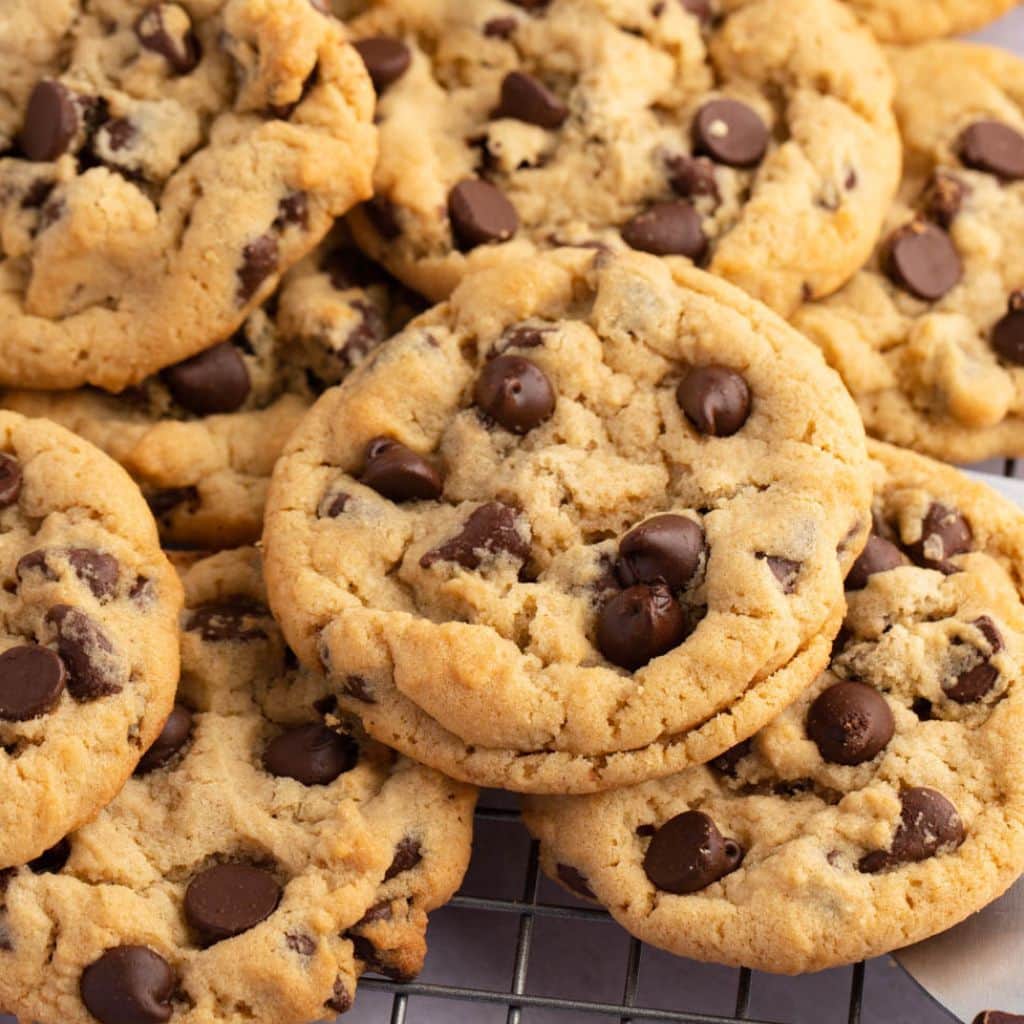
How to Make Peanut Butter Chocolate Chip Cookies
1. Prep.
Preheat your oven to 325 degrees Fahrenheit and line baking sheets with parchment paper.
2. Combine the dry ingredients.
Sift together the flour and baking soda and set them aside.
3. Combine the wet ingredients.
Beat the softened butter with an electric mixer until creamy. Mix in the peanut butter and sugars until well combined.
Add the eggs, one at a time, and beat well after each addition. This ensures the eggs incorporate well with the rest of the ingredients.
4. Combine the wet and dry ingredients.
Gradually add the flour mixture to the wet ingredients. At this point, you want to be very careful with mixing.
Over-mixing the dough will cause your cookies to be tough and dry.
That said, it’s better to mix by hand with a spatula rather than an electric mixer.
Stop mixing as soon as you no longer see streaks of flour.
Then, gently mix in the chocolate chips.
5. Bake.
Scoop out the dough onto the lined baking sheets.
Allow about 2 inches of space in between scoops to make room for spreading.
Bake for 15 minutes, or until the cookies have set around the edges.
Allow the cookies to cool on a wire rack for about 10-15 minutes.
Serve warm or at room temperature and enjoy.
Tips & Tricks
- Measure the flour correctly. Adding too much flour to the dough will yield dry cookies. Use a kitchen scale for the most accurate measurement.
- Don’t over-mix the dough. Otherwise, your cookies will turn out tough and dense, not soft and chewy.
- Use chopped chocolate bars. Unlike chocolate chips, it’ll give your cookies pockets of ooey-gooey chocolate! It melts better and also makes for a more rustic look.
- Use a lighter-colored baking pan. Darker pans heat up quickly and may cause the bottom of the cookies to brown too much.
- Line your baking sheet with parchment paper. Unlike a silicone mat, using parchment paper will give your cookies those lovely crispy bottoms. Plus, that’s also one thing less to clean!
- Under-bake the cookies for extra chewiness. You want the cookies to be set around the edges, but still a little wet in the middle. They’ll keep baking as they cool, so don’t worry about it.
- Keep cookies fresh with proper storage. Store leftovers in a cookie tin so they stay nice and crisp. If you want them soft, keep them in an airtight container, instead. Leftover cookies will keep well for up to 3 days.
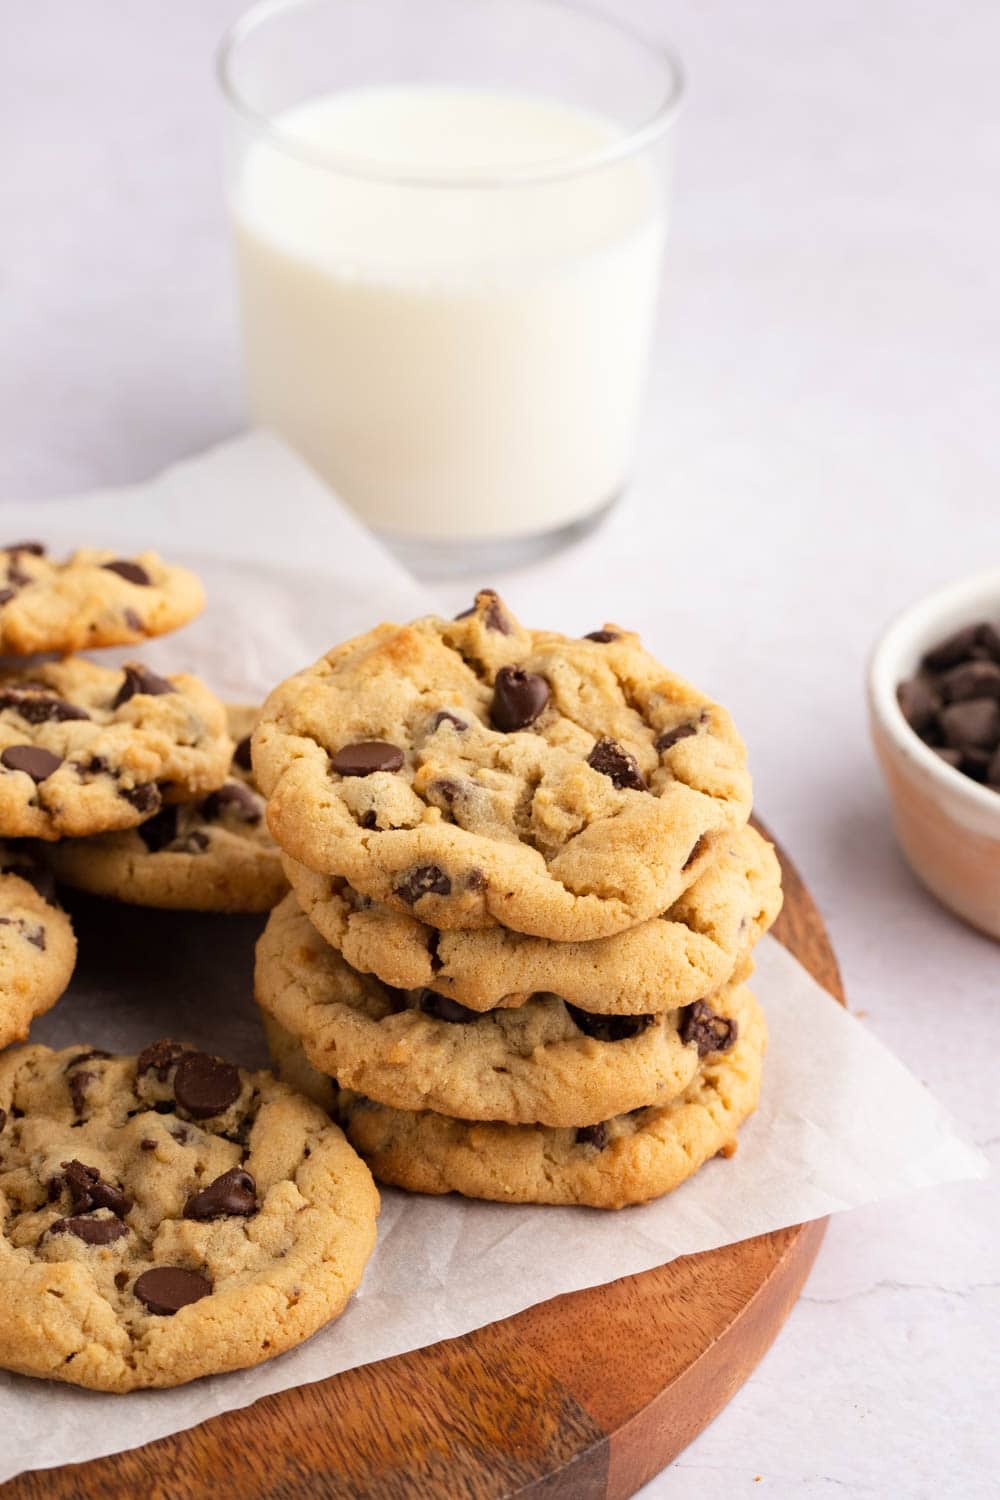
Do You Have to Chill the Dough Before Baking?
While it’s generally recommended to chill cookie dough, you don’t have to chill this dough before baking.
One of the main reasons to chill cookie dough is to help firm it up. This keeps it from spreading too much in the oven.
But this is more a worry in recipes with melted butter. In that case, you’ll feel how soft the dough is when you portion it.
In this recipe, though, you’ll use soft butter.
That said, it doesn’t hurt to chill the dough. In fact, a quick-ish spin in the fridge helps the flavors to marry and gives you tastier cookies!
Plus, it will keep them from spreading, giving you the softest middle ever!
Can I Make the Cookie Dough Ahead of Time?
Yes! You can prepare almost any cookie dough ahead and keep it wrapped in the fridge until you’re ready to bake.
I like to pre-portion it, that way, you don’t have to try scoop from a solid block. But a block will work fine as long as it’s wrapped well.
And you can even freeze it!
Simply make the cookie dough as instructed in the recipe card.
Then, scoop it out onto a lined baking sheet, and freeze for about 1 hour or until rock solid.
Next, place the cookie dough balls in a freezer-safe bag and freeze them for up to 3 months.
When ready to bake, pop however many cookie dough balls you like onto a parchment-lined baking sheet.
Bake them at 325 degrees Fahrenheit for about 18-20 minutes.
More Cookie Recipes You’ll Love
Peanut Butter Cookies
Chocolate Chip Cookies
Hot Chocolate Cookies
Ginger Cookies
