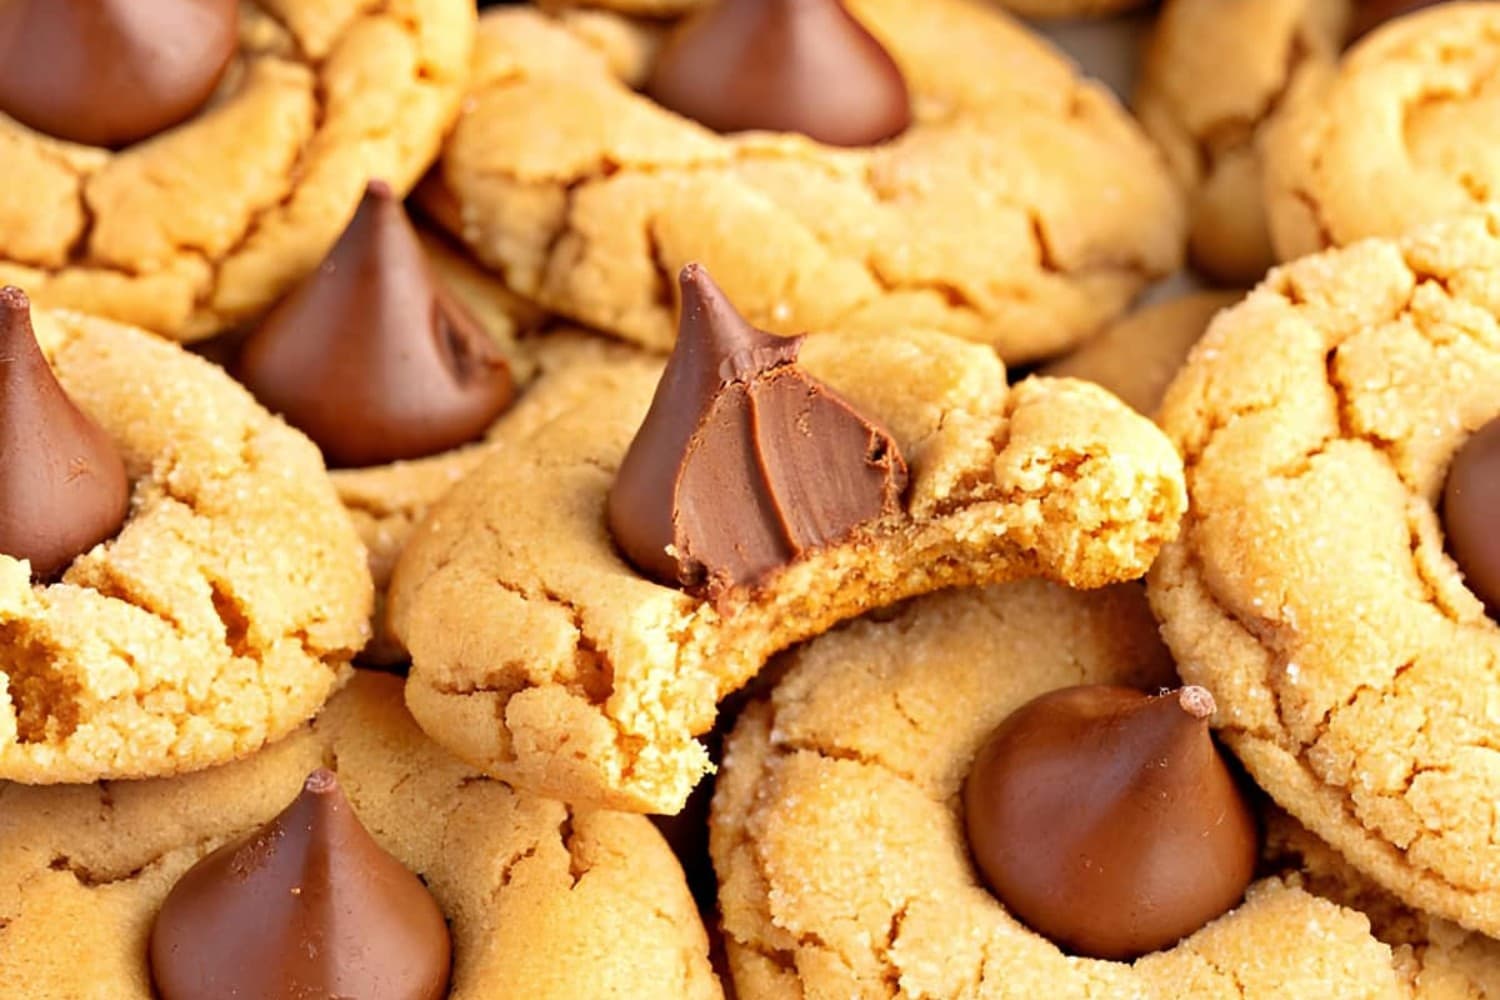
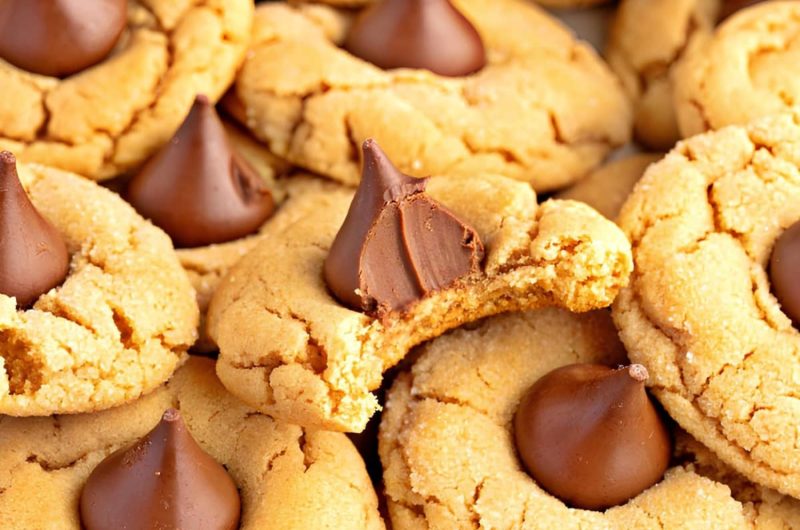
Peanut butter blossoms are exceptionally soft and chewy.
And they’re made even more special with that melt-in-your-mouth chocolate kiss at the center.
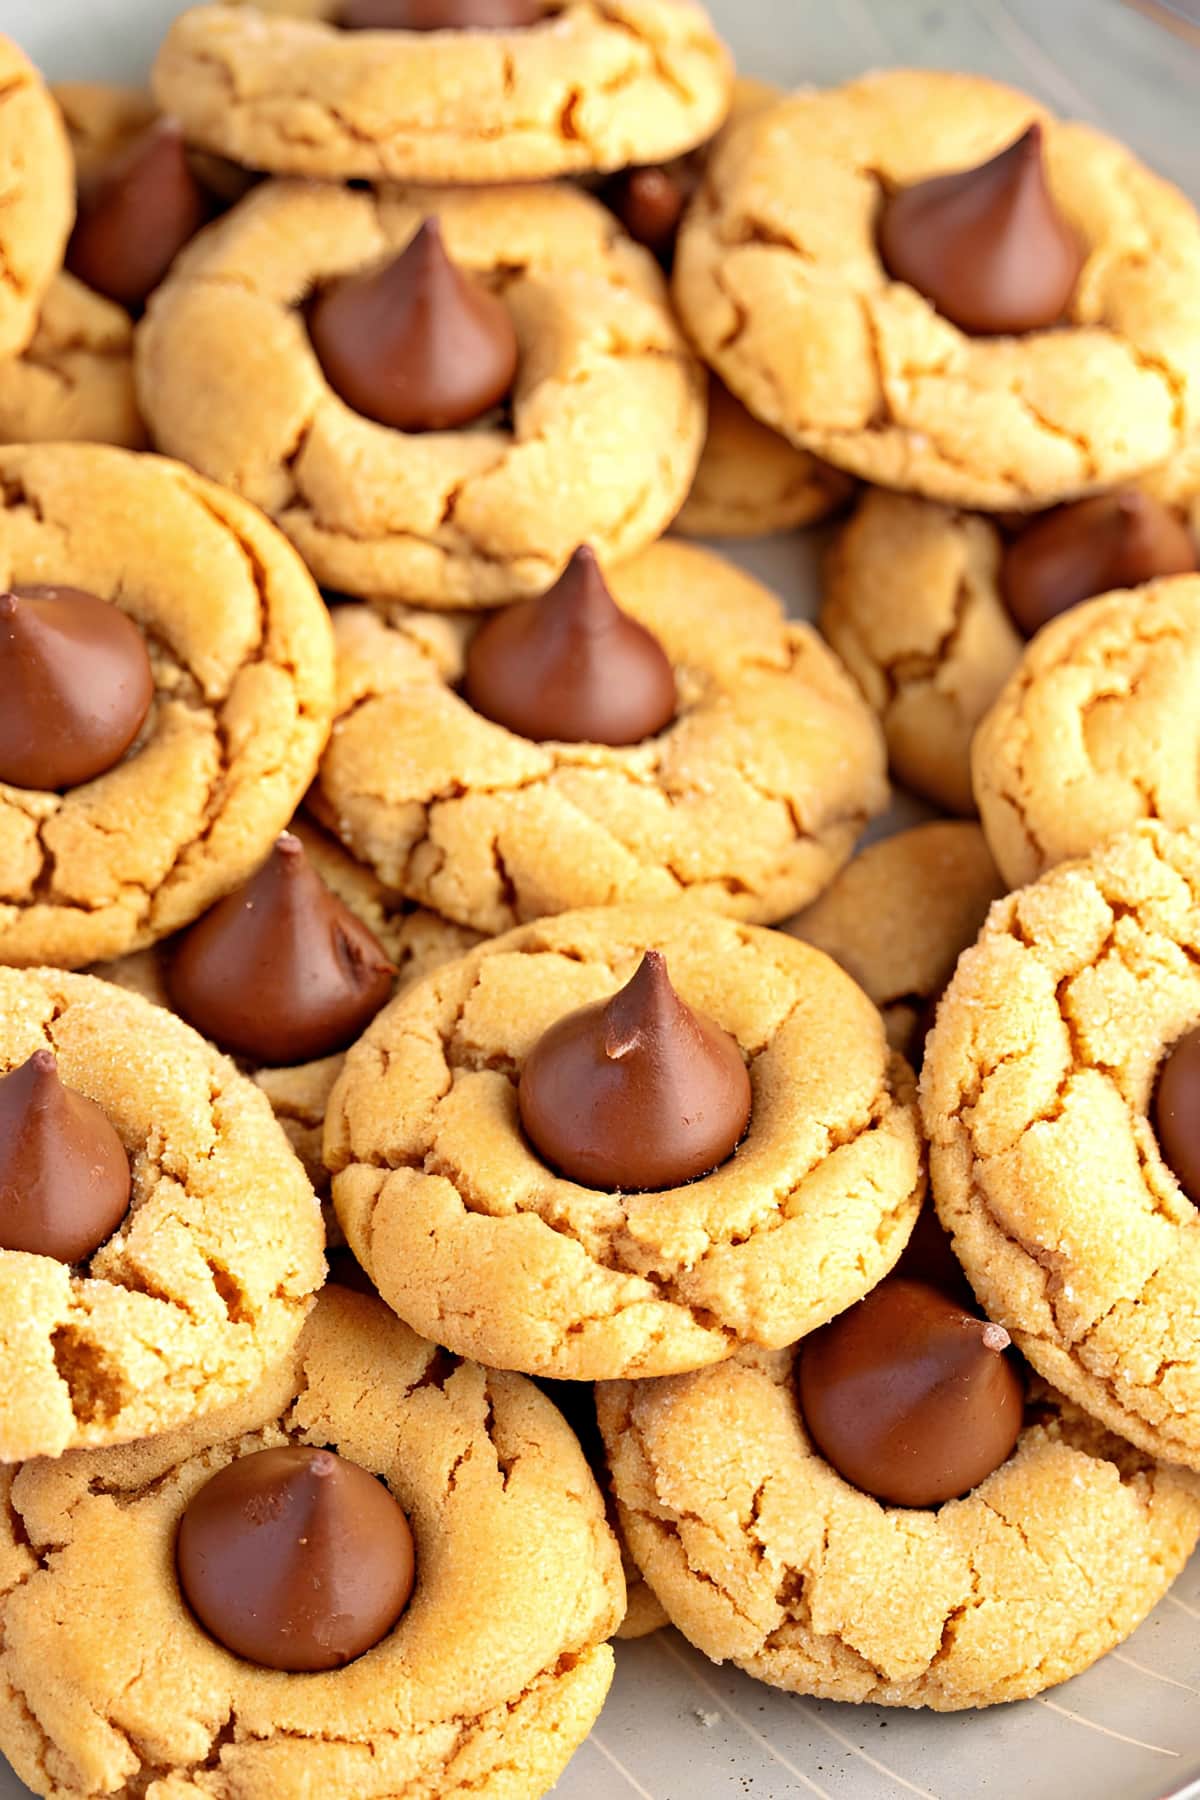
Some call them peanut butter kiss cookies, others refer to them as peanut butter blossoms. No matter what, they’re delicious!
I mean… who can resist the sweet and salty combination of chocolate and peanut butter? Not me!
They’re a staple at nearly every holiday get-together. But don’t let that keep you from enjoying these classic cookies all year long.
Especially since these soft, peanut-buttery delights are super easy to make!
Ingredients
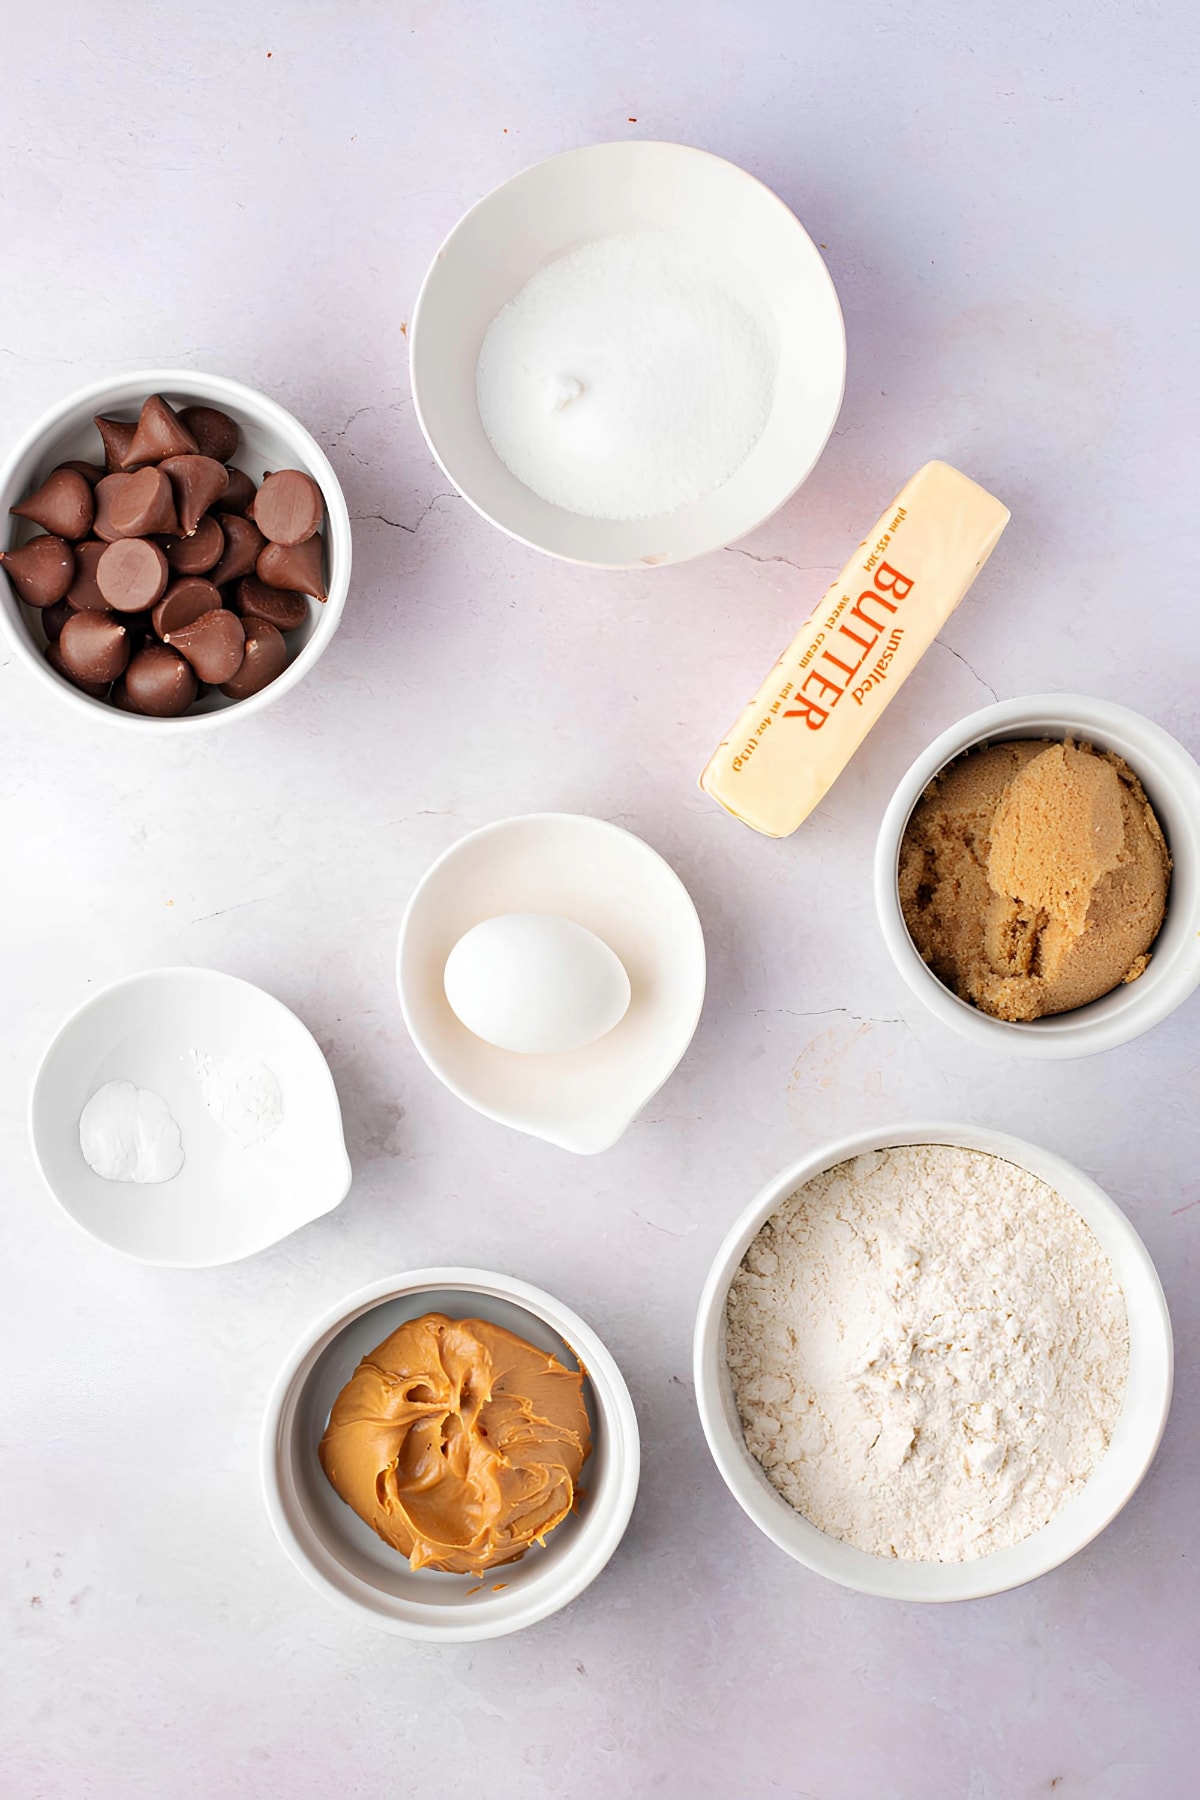
You can make these delectable cookies with six simple ingredients:
- Sugars. This recipe calls for not one, not two, but three types of sugar. You’ll use equal amounts of brown sugar, confectioners’ sugar, and white sugar. The different sugars make the cookies soft, chewy, sweet, and delicious.
- Peanut butter. Use creamy peanut butter for the best texture.
- Eggs. Eggs add moisture and lightness and help the cookies rise.
- Chocolate kisses. You’ll add one chocolate kiss in the middle of each freshly baked cookie. You can stick to regular Hershey’s Kisses or experiment with one of their other Hershey’s Kisses flavors.
How to Make Peanut Butter Blossoms
Making these cookies couldn’t be simpler.
1. Preheat. Preheat the oven to 350 degrees Fahrenheit.
2. Make and shape the batter. Mix the brown, white, and confectioners’ sugar with the peanut butter and egg. Stir gently but thoroughly.
Shape the batter into small, one-inch balls. Place them on an ungreased cookie sheet.
3. Bake. Bake for approximately 10 minutes.
4. Add the chocolate kisses. Remove the cookies from the oven. Before they cool fully, press a chocolate kiss into the center of each one.
Let the cookies finish cooling, then serve and enjoy!
Tips & Tricks to Make the Best Peanut Butter Blossoms
Remember these tips while baking:
- Don’t substitute different sugars. Using three distinct sugars is what makes these the BEST cookies! Brown sugar adds moisture and chewiness. Confectioners’ sugar creates a smoother texture and helps prevent overspreading. White sugar sweetens the recipe. The result? A nice thick, sweet, chewy cookie.
- Chill the dough. When making cookies, it’s always better to chill the dough for at least 30 minutes before forming them into balls and baking. Doing so will help solidify the dough so that it’s easier to scoop and shape. It also prevents the cookies from over-spreading.
- Unwrap and freeze the chocolate kisses while the cookies bake. That way, they won’t melt as you press them into the hot cookies.
- Use 1-inch dough balls. This size provides the perfect cookie-to-kiss ratio. A small cookie scoop works perfectly for this.
- Store leftovers in an airtight container. These peanut butter blossom cookies will last for 5 to 7 days. Just be sure to store them in an airtight container or Ziploc bag. Place them on the counter, and watch them disappear.
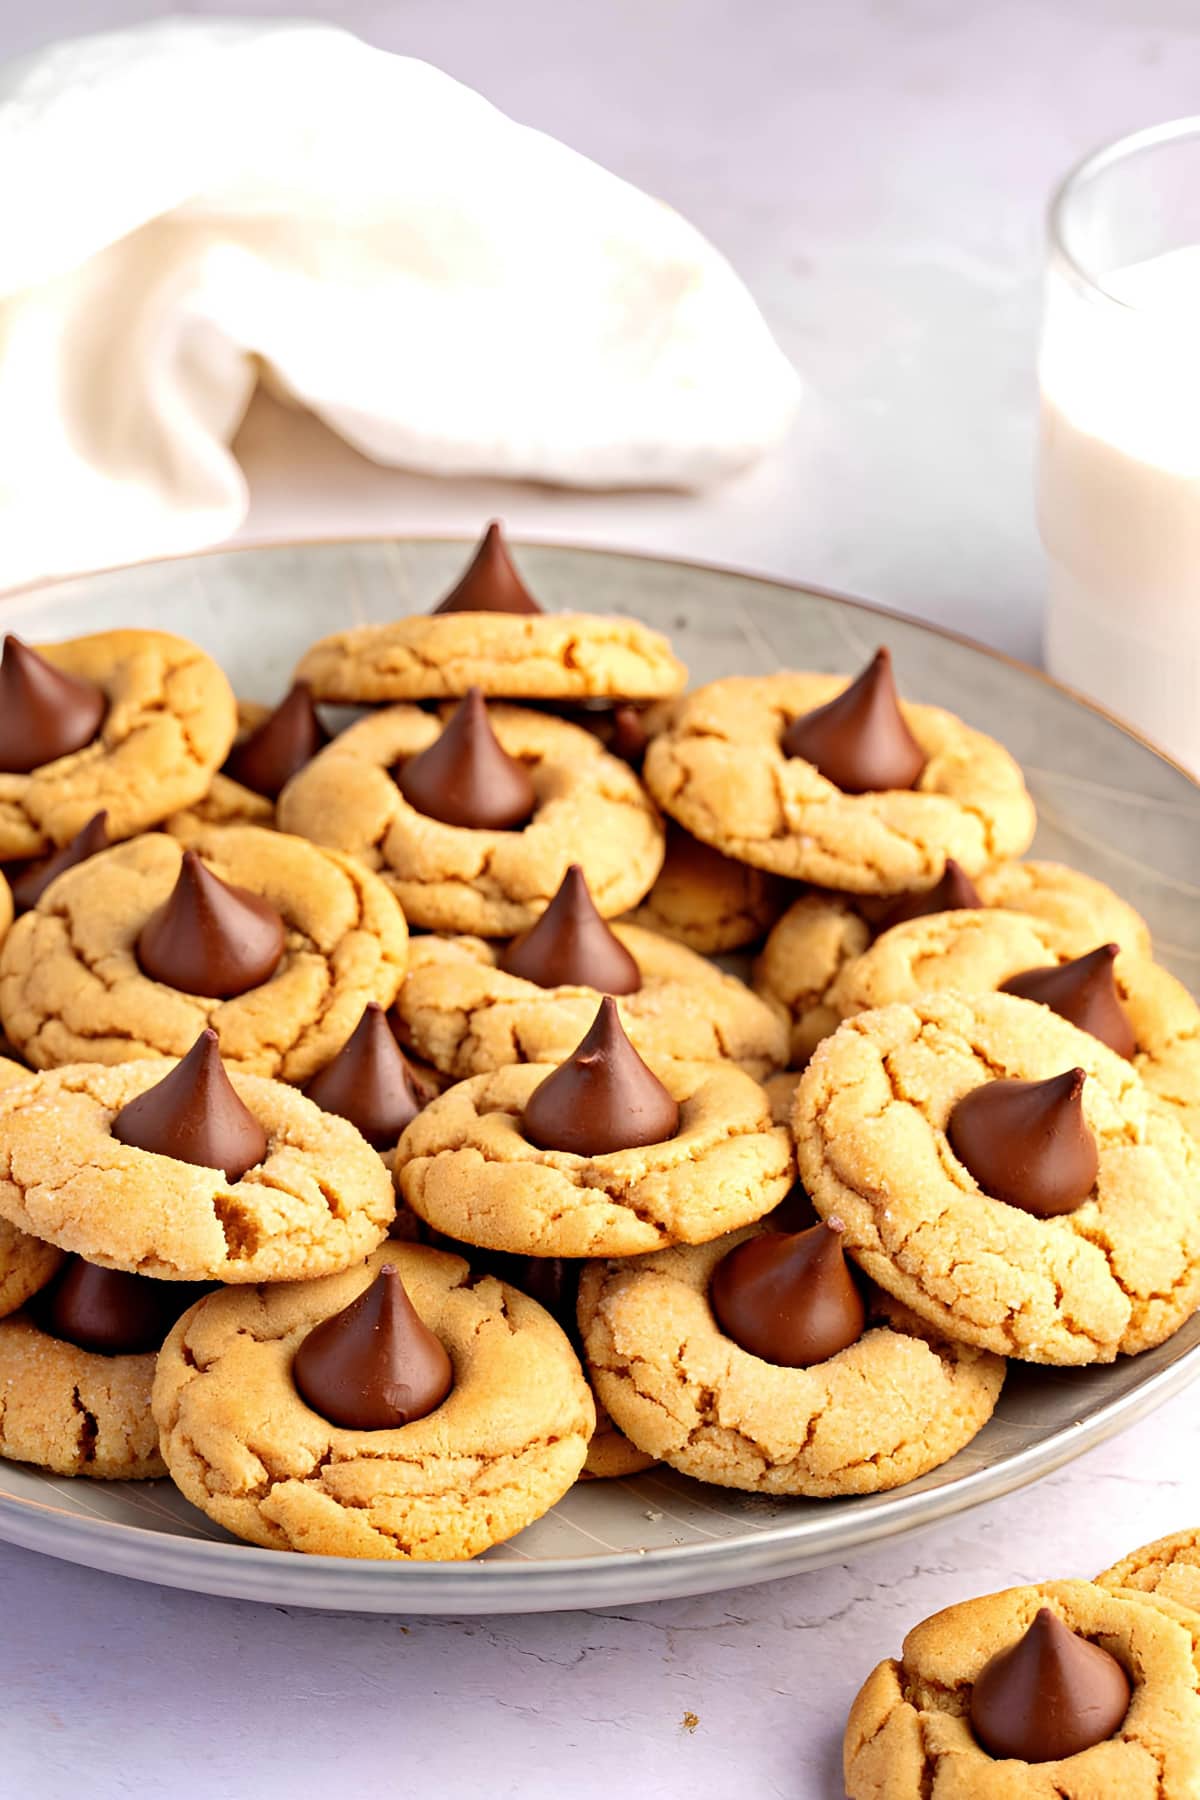
- Make them pretty. For that extra sparkle and festive feel, roll your dough balls in granulated sugar, colored sugar, or sprinkles!
- Vary the kisses. Hershey’s Kisses come in a variety of flavors, so feel free to use whichever ones you like. Milk chocolate… Dark chocolate… White chocolate… You name it!
- Don’t wait too long before adding the kisses. Add them a couple of minutes after the cookies come out of the oven. The cookies will still be nice and soft. That’ll give the chocolate time to melt and stick to the center.
- Keep an eye on the baking time. When it comes to baking cookies, there is no such thing as an accurate bake time. So, always pay more attention to how your cookies look instead of the timer. Once the edges turn lightly golden and the tops start to crack, they’re done.
- Don’t crowd the cookies. Give the cookie dough balls enough space so they won’t spread into each other while they bake. A good amount would be 2 inches apart.
- Don’t leave your cookies on the baking sheets. If you do, they’ll continue to bake. Transfer the cookies onto a cooling rack to allow them to cool evenly.
- Don’t place the second batch on a hot baking sheet. This will cause them to spread. When baking the second batch of cookies, either use a different baking sheet or let the first baking sheet cool first.


