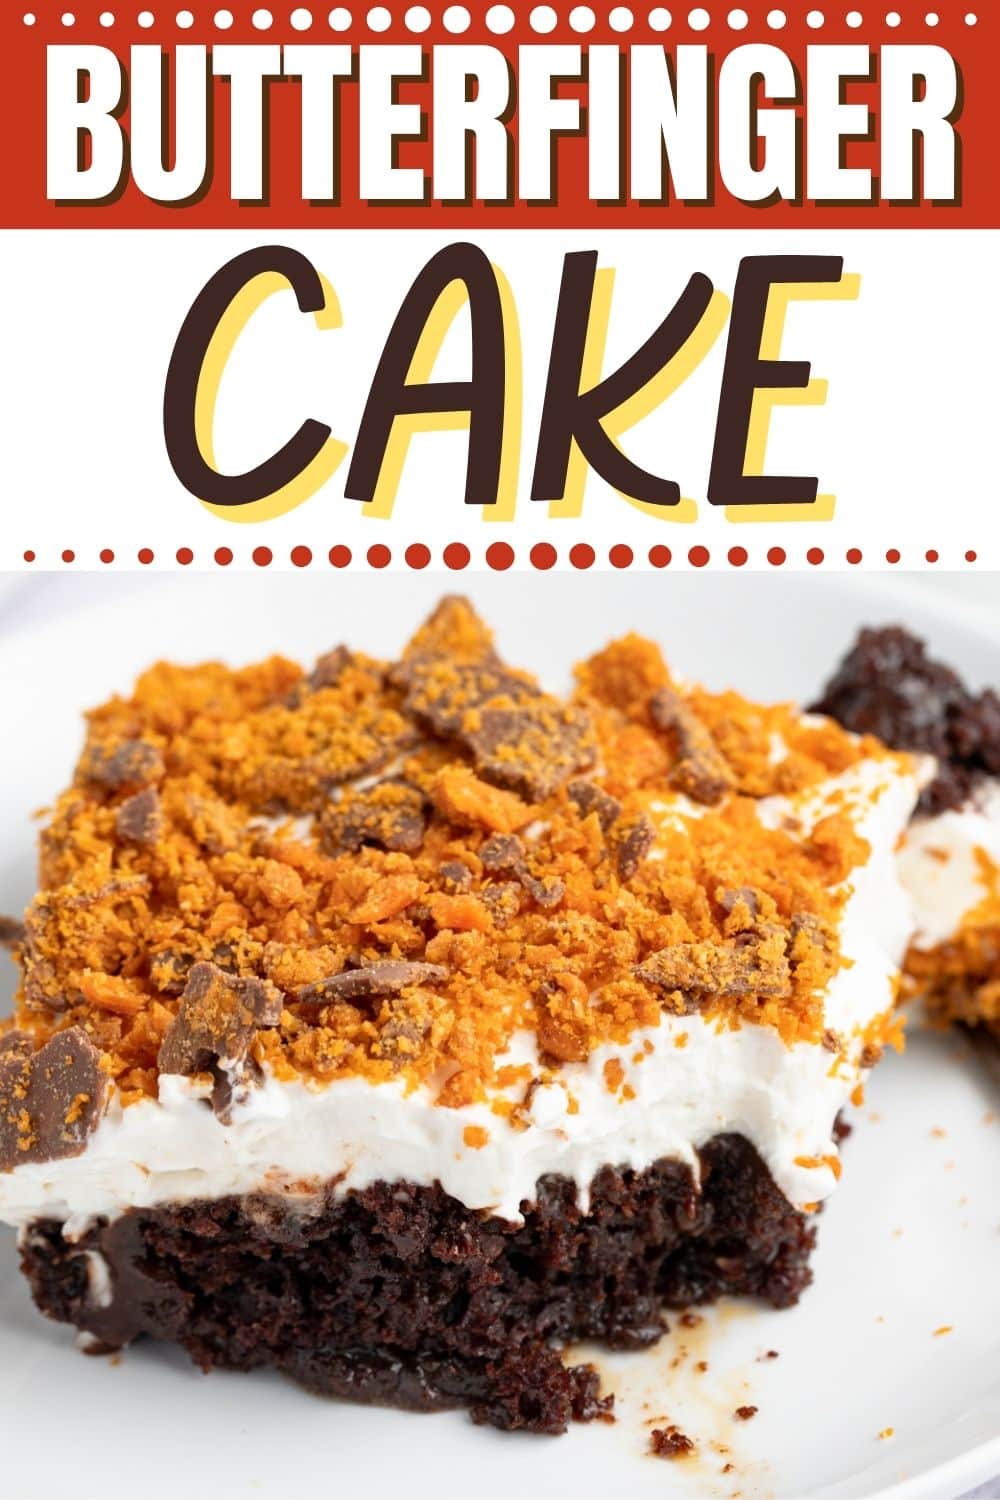
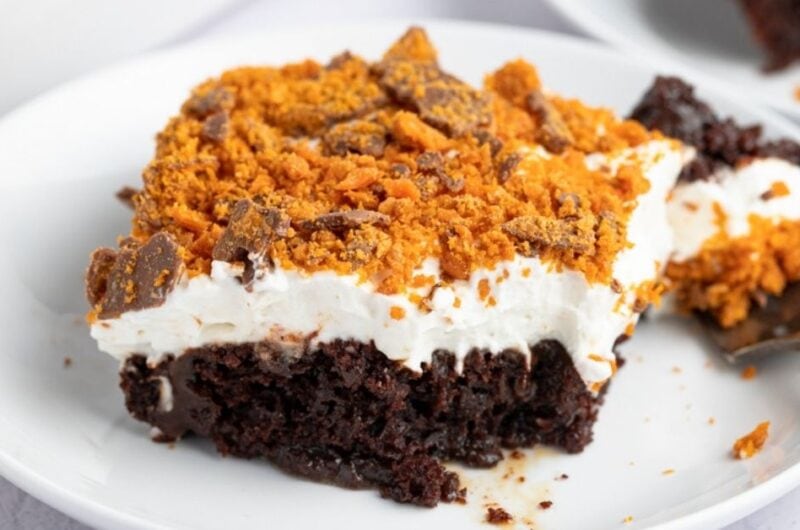
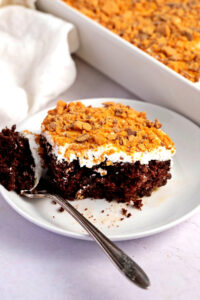
Butterfinger cake is the ultimate dessert lover’s delight. Devil’s food cake is made even more sinful and indulgent with this recipe.
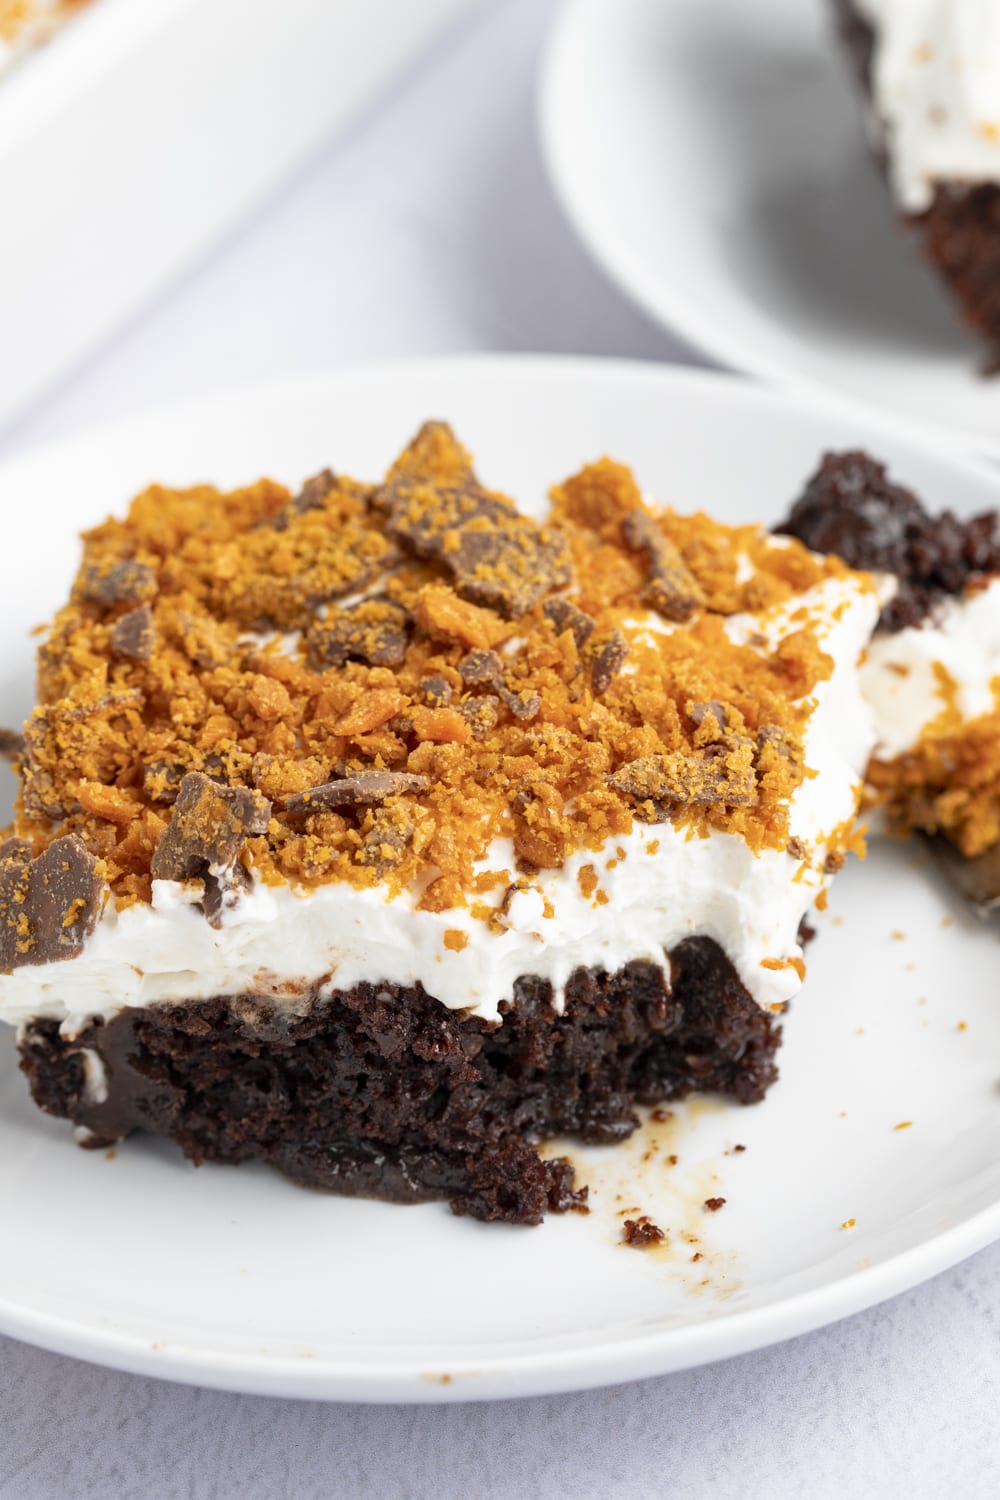
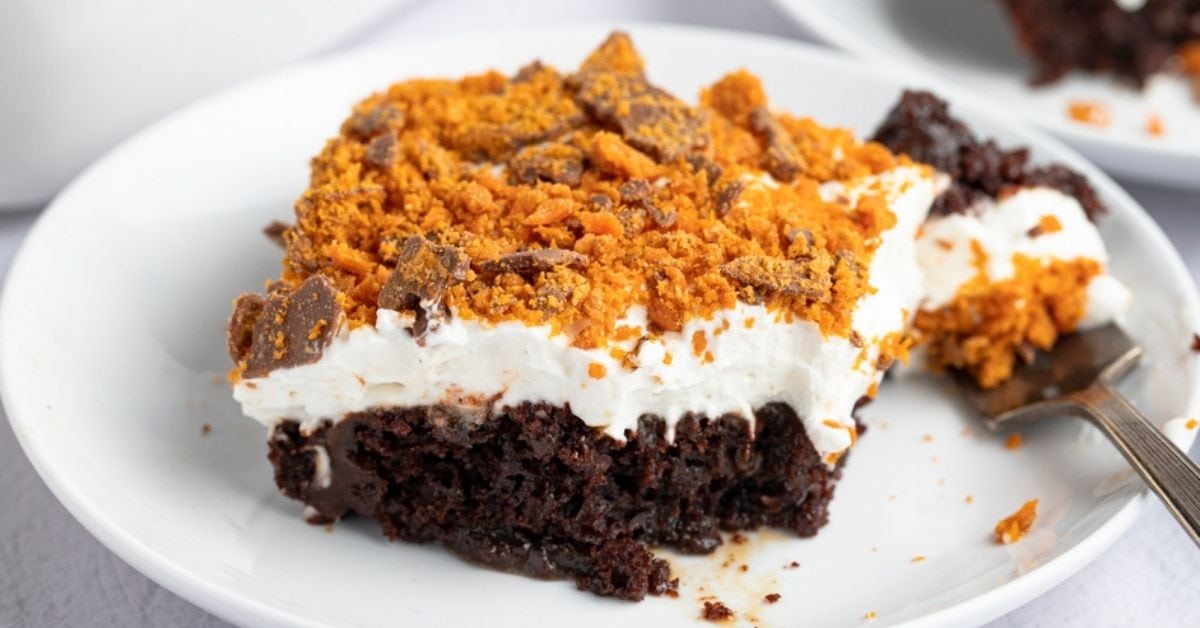
This poke cake has a mix of sweetened condensed milk, hot fudge, caramel, whipped cream, and crushed-up Butterfingers on top.
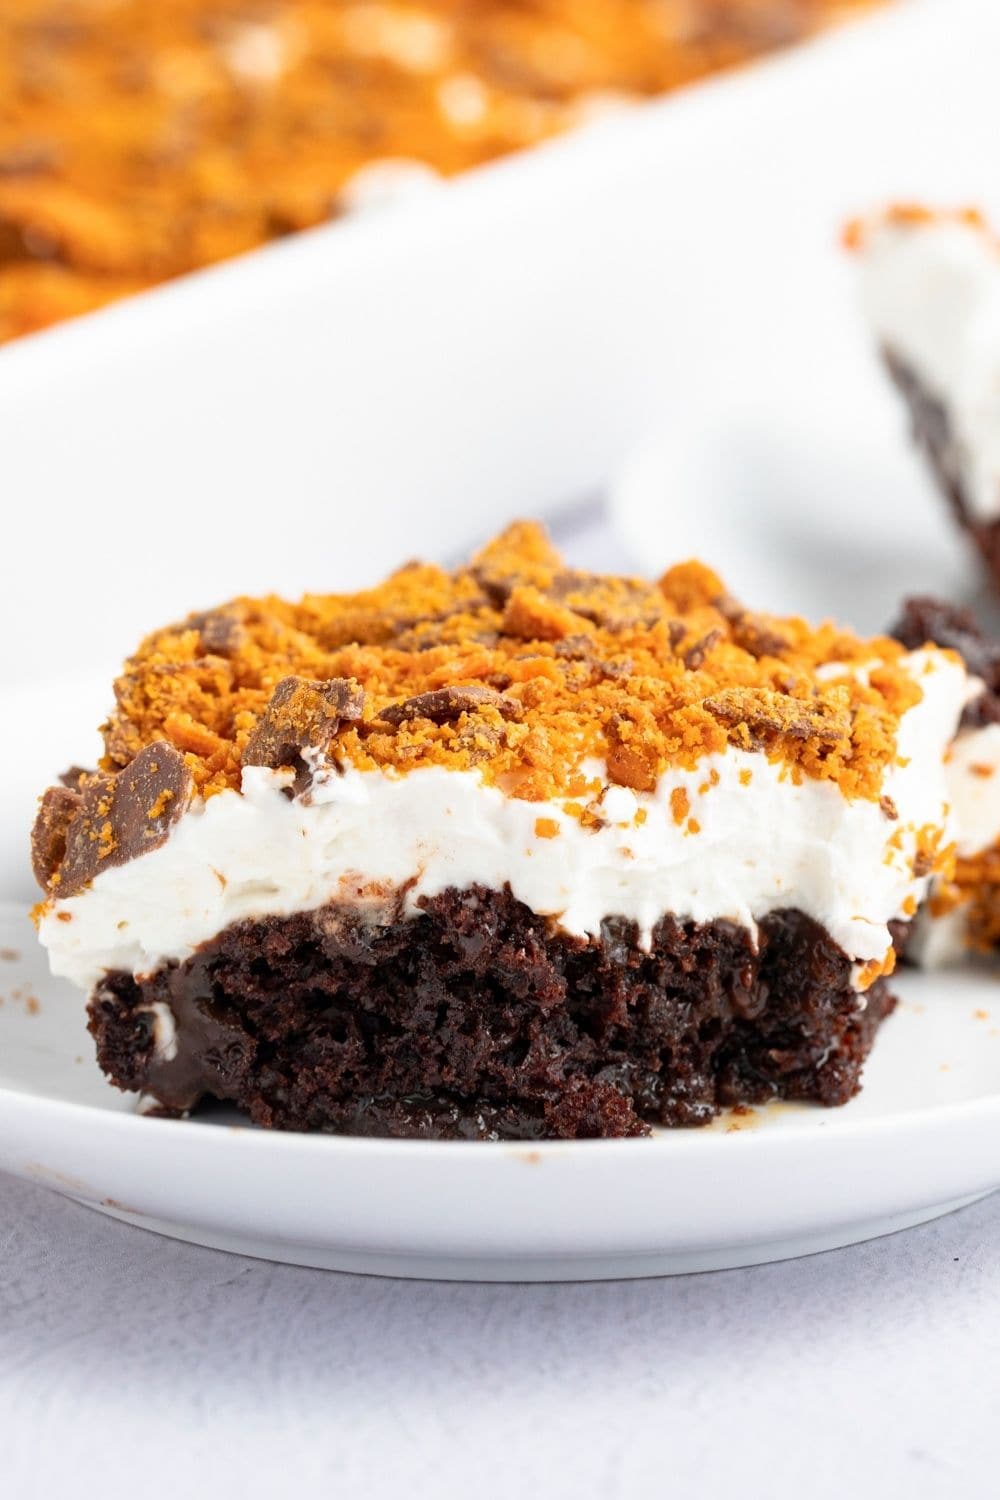
With a boxed cake mix and store-bought dessert toppings, this cake is forgiving and foolproof. It’s a perfect recipe for amateur bakers.
After you make this easy treat, everyone will think you’re a pro!
Put on your apron, preheat the oven, and let’s get baking.
What Is Poke Cake?
From the name itself, a poke cake is any cake you poke holes in. Those holes are filled with sweet liquid such as milk. Or, in this case, a mix of condensed milk, fudge, and caramel. This transforms the cake from basic to phenomenal.
The liquid mixture adds flavor to the cake and makes it incredibly moist. This technique makes any cake super delectable.
Poke cakes rose in popularity in the 70s, right when cake mixes became a thing.

What Are Butterfingers?
Butterfingers are scrumptious candy bars with a crunchy and chewy peanut butter center and a milk chocolate coating.
They have a wonderful combination of sweet and salty flavor and, soft, chewy, and crunchy texture.
What Can You Use to Poke Holes in the Cake?
A fork, knife, skewer, or the back of a wooden spoon all work well. I prefer a fork, though. It pokes four holes at a time, so it does the job much faster.
Ingredients
By using a few pantry staples, you can create this decadent cake in no time flat. Here’s what you’ll need:
- Devil’s Food cake mix – The base of the cake.
- Water – To moisten the cake mix.
- Oil – Another element to moisten the cake.
- Eggs – They serve as a binding agent.
- Sweetened condensed milk – To give it a sweet flavor and velvety texture.
- Hot fudge and caramel – Two toppings to take this cake over the top!
- Whipped topping – The finishing touch.
- Butterfinger candy bars – The stars of the show.
How to Make Butterfinger Cake
Follow these simple instructions to make this delicious treat.
- Preheat the oven to 350 degrees Fahrenheit. Grease a 9×13-inch baking pan with baking spray or butter.
- In a large bowl, whisk together the cake mix, water, oil, and eggs. Stir until a smooth batter is formed.
- Pour the batter into the greased pan. Bake it for 28 to 30 minutes or until a toothpick inserted into the center comes out clean.
- Let the cake set for about 10 to 15 minutes. Poke holes in the cake using a straw, knife, or skewer.
- Pour the sweetened condensed milk, hot fudge, and caramel over the cake. Let the cake cool completely for about 1 hour.
- Spread the whipped topping evenly over the completely cooled cake. Sprinkle with crushed Butterfingers on top. Refrigerate it for at least 4 hours before serving. Enjoy!
Tips for Making the Best Cake
- Try different cake flavors. I like to use a devil’s food cake mix, but that’s just a personal preference. Feel free to use whatever cake mix you like or have on hand. Homemade cakes also work.
- Use room-temperature eggs. They create a smooth, well-combined batter. Soak them in hot water for a few minutes if you forget to set them on the counter beforehand.
- Take a Butterfinger Bits shortcut. That way, you won’t have to crush the candy anymore. If you can’t find them, place the candy bars in a Ziploc bag, seal it, and pound them with a rolling pin or meat tenderizer.
- Freeze the candy bars ahead of time. The chocolate coating will melt quickly, so you must work fast. Freeze the candy bars beforehand to make it easier to crush them.
- Don’t crush the Butterfingers all the way. Leave a few large chunks for more textural variety.
- Don’t overbake the cake, or it’ll be tough and dry. Stick to 350 degrees Fahrenheit as well. Baking it at an overly high temperature will also result in a dry cake. Place a kitchen thermometer in the oven so you can monitor the temperature.
- Let it cool. Allow the cake to cool for about 10 to 15 minutes before poking it. It needs a bit of time to set. Otherwise, poking it will be a challenge. Also, let it cool before adding the whipped frosting.
- Shave off a layer. Cut off the top of the cake to help it soak up the topping better. This is especially helpful if your cake forms a crust on top.
- Poke as many holes as you can! Don’t worry about its massacred appearance. That’s the whole point of covering it up with cream.
- Switch up the candy bars. Try other crushed candy bars or cookies as well! I’ve used Heath bars before, and they worked beautifully.
How to Store
Store the cake for up to 4 to 5 days in the fridge. Be sure it’s covered well so it doesn’t absorb the flavor and aroma of neighboring food items.






A 9×13 pan but only 4 servings??? Shouldn’t this be 8+ servings?
Hi Bev, it’s actually 24 servings, not 4! 🙂
Could you do more dessert recipes without the eggs as I am highly allergic to them. Thank you kindly
Thanks for the input, Phyllis! We’ll keep that in mind for sure!
Love your recipes!!!!
Thank you for the recipe! I’ll let you know how it turns out and if everyone likes it.
Hi Nancy, I hope everyone loved the cake! It’s one of my favorites.
Sounds great. I am certainly going to make it. My question, is there really only 4 servings from a 9X13 pan?
Hi Ferne! Thanks for catching that – it’s actually 24 servings. Or 12 if you have a sweet tooth 😉